Showing posts with label main course. Show all posts

Wednesday, August 20, 2014

Braised pork belly with crackling: Bring on the meat!

This dish was a surprise. 

I had put doing it off, despite being greatly interested in the eating of it, after being scared off by the 18 hours cooking time. “Eighteen hours!” I thought, “How would you manage that!”

The big surprise came in two things… one… it was one of the easier Heston dishes. And, in terms of actual cook-doing-cooking time… it didn’t take much actual time, but near enough to 42 hours elapsed time. It’s kind of a ‘hurry up and wait’ dish.

And, because I am feeling terribly kind, I’m going include in this dish WHEN I did everything, so all the timing is laid out for you.You're welcome.

Is all this long-time ahead prep worth it? Well.. sorry to give away the best line, but.. one guest called it “the best pork I’ve ever eaten.”

Prep Ahead dinner party:

We had: (Heston dishes marked with a *)
  • Prawn cocktails*, with from scratch Mayonnaise* and Soy-marinated roe*
  • Braised pork belly with cracking*, pommes puree* (mk2), braised lettuce* and steamed carrots.
  • Coffee creme brulee*

Braised Pork Belly with Crackling

Heston Blumenthal at Home

Process:

1. Prepare the spiced brine
2. Brine the pork belly
3. Braise pork belly
4. Cook crackling
5. Cool pork belly, strain off veg
6. Prep sauce
7. Warm pork belly to serve

It might look like a lot, but most of those steps take less than 15 minutes of actual chef time. The down side though? The elapsed time of many of those steps is measured in hours….

Let’s see how it is done, shall we?  
The times I am working on assumes you want to serve this for Saturday night. I’ll indicate when I did them in italics like this.

Prepare the spiced brine

(Thursday evening)
So if you’ve made brine before you’d be aware, it is just very salty water. Soaking meat in brine makes it more tender when you cook it. (Just remember to wash the brine off before cooking, or its really salty). In order to add flavour to this dish, Heston also adds spices to this mix. A salty tea to soak in. Like its own day spa.

Before putting them in the water, you roast them. This is not difficult. Look.
Put spices in dish.
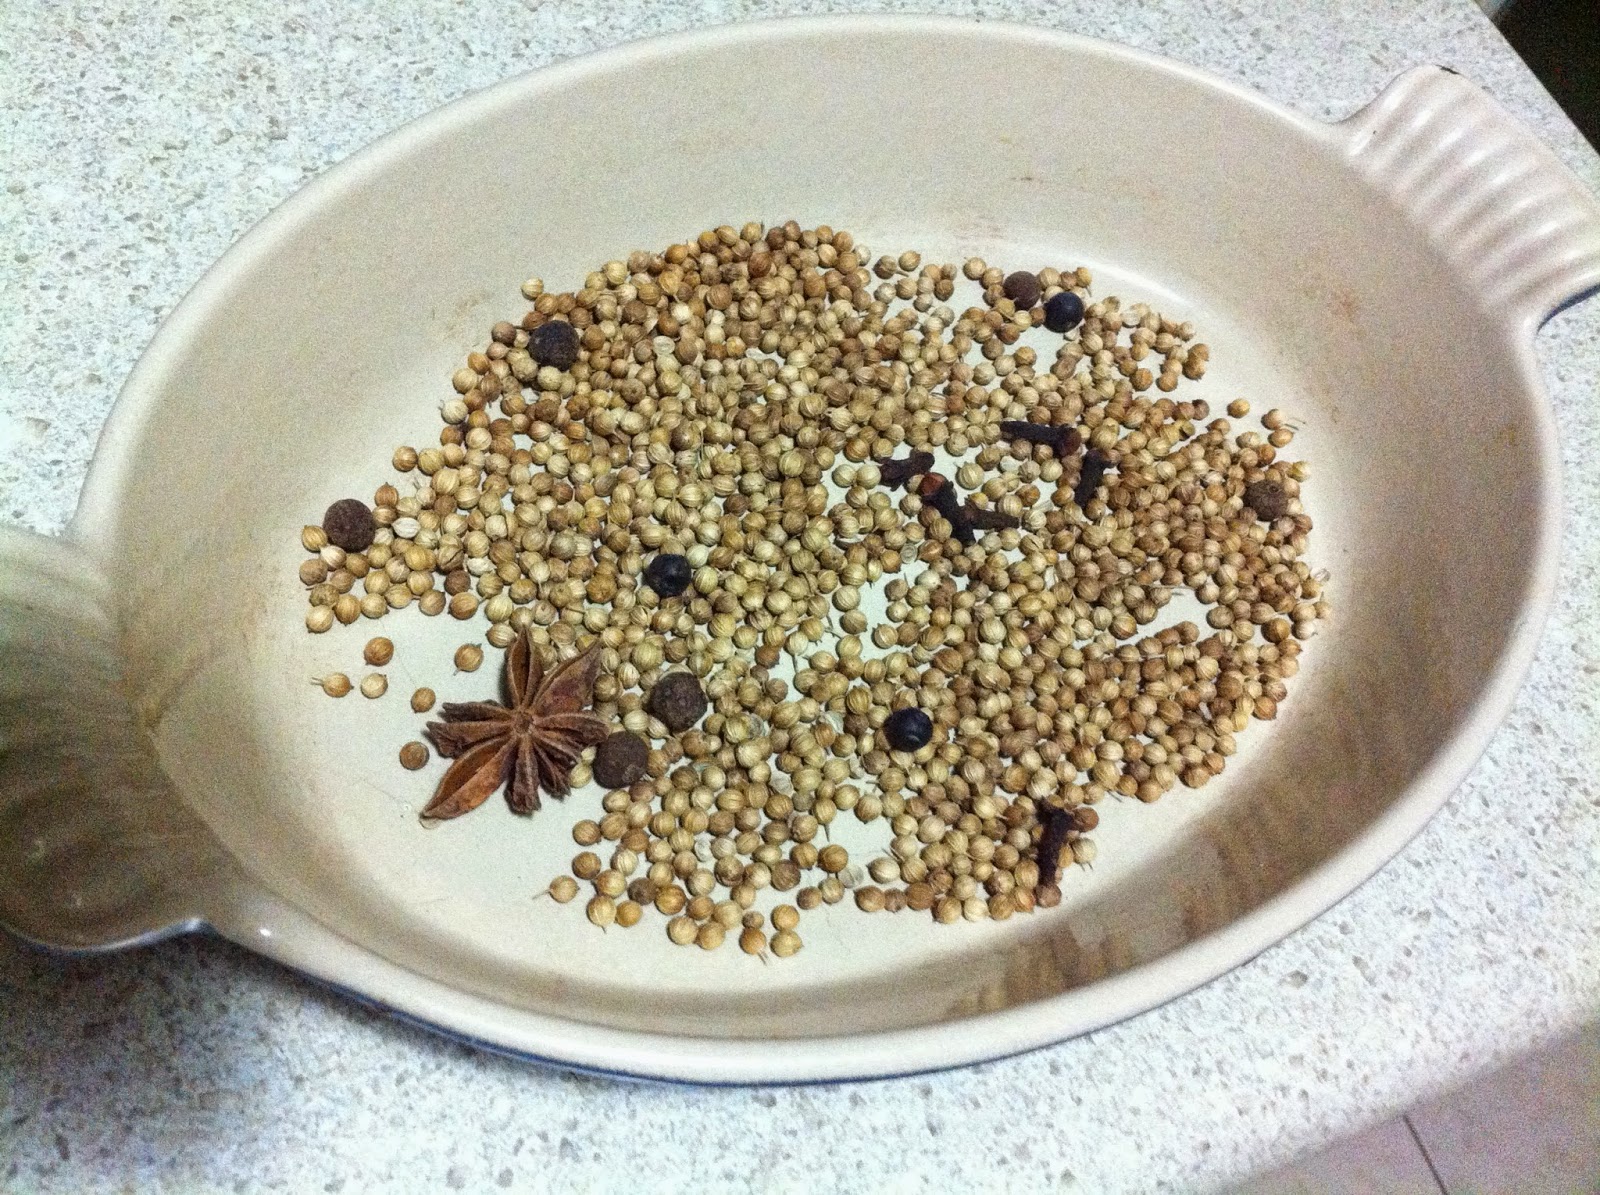
Roast them in oven.

Whizz them up a bit.
 
Add them into a tea bag muslin with the rosemary, thyme and zests.
 
Warm your water,  add a large chunk of salt and the muslin bag until it boils.  
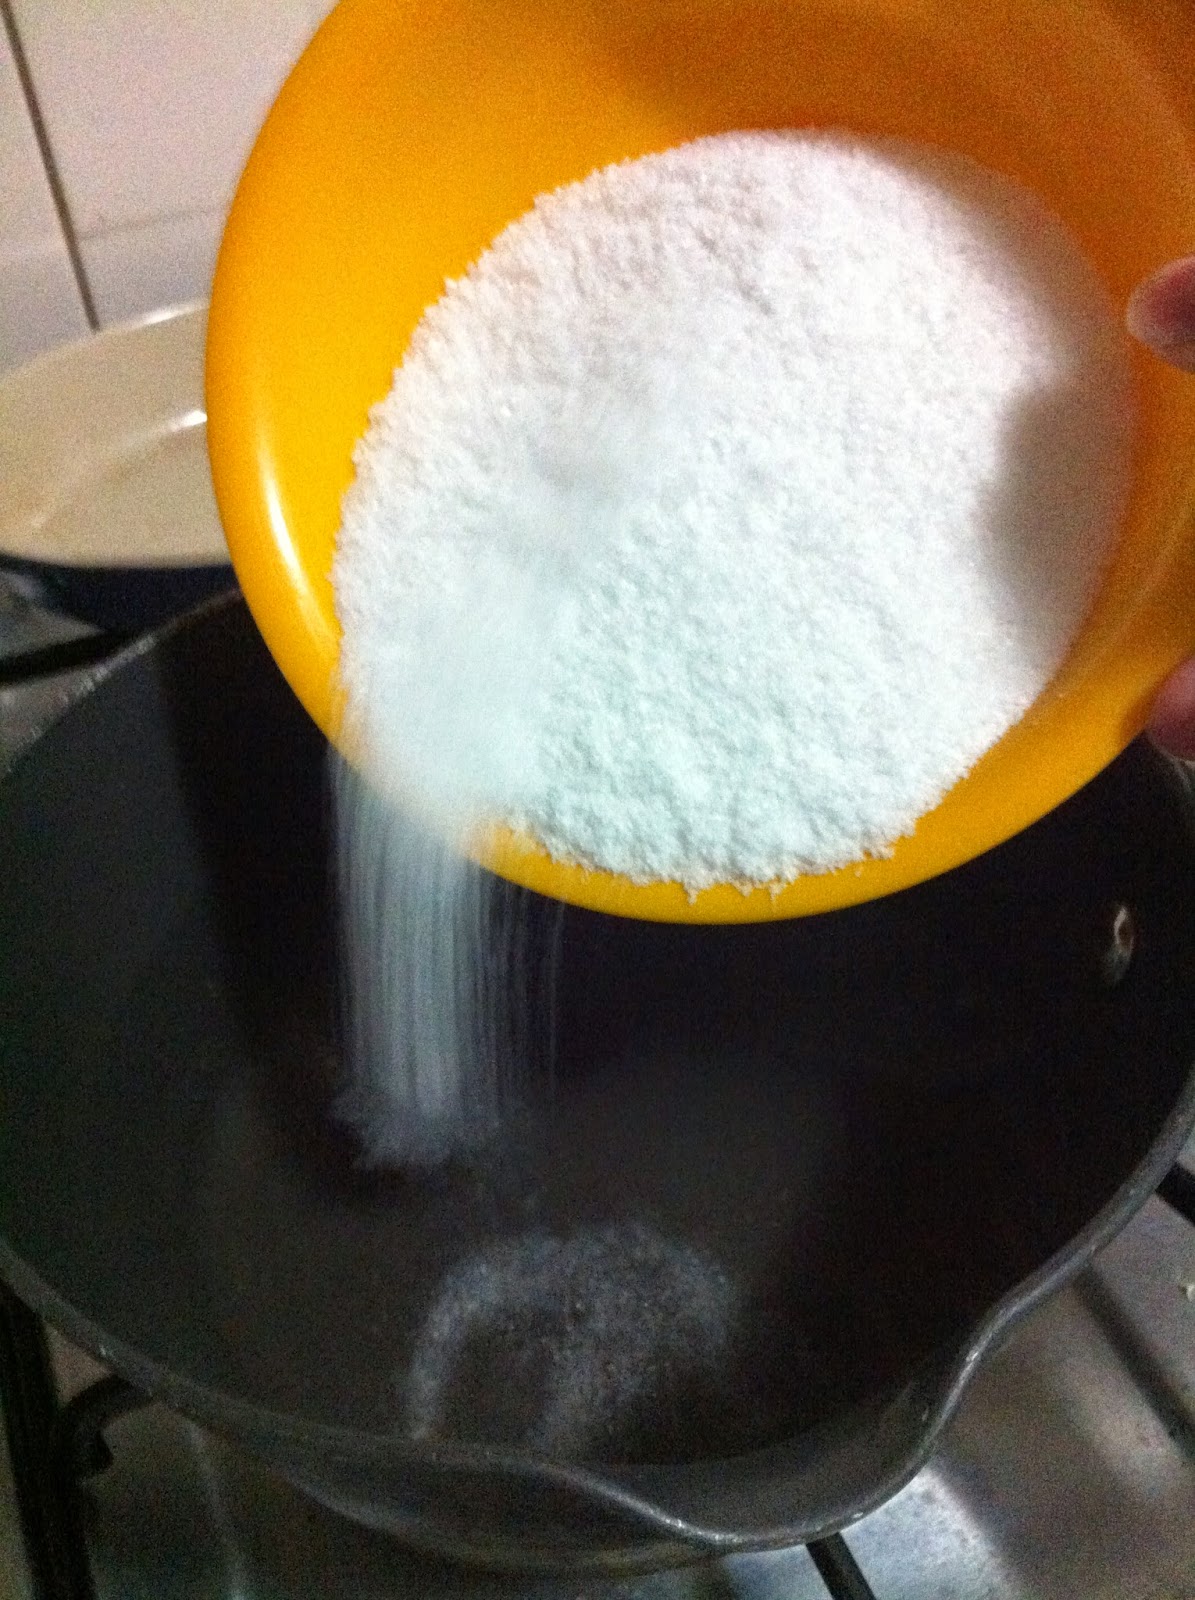
 
Put the whole lot in a bowl and let it cool. Overnight.
 

Brine the pork belly

First you need to remove the skin from the pork belly, and put it aside for later. (Thursday night while the brine was warming up).
 
6.30am Friday morning. Put pork belly in a dish it will fit (A lasagne tray worked nicely) 
and fill the dish with the spiced brine, discarding the muslin bag. (Or rather discarding the contents, so you can rewash and reuse the muslin). This goes into the fridge (covered with cling film) for 12 hours – i.e. after you get home from work.


6.30-7.30pm Friday evening. 
Drain off the spiced brine, and refill the dish with fresh cold water. Replace the cold water every 15 minutes.
 

Braise the pork

While the pork is rinsing, get the rest of your braising ingredients together. 
Put on the oven to warm now. My oven doesn’t have a 70 degree temp, but some testing with a thermometer found that the “Keep Warm” setting is 70 degrees on my oven.

Slice up the carrot, onion and leek. Defrost your chicken stock. I used Heston’s brown chicken stock recipe, and froze the extra. (Method as per this post).

Realise that you large-ish piece of pork belly does not fit nicely into your casserole.
 
Adapt.
 
7.30pm Put the pork into your casserole dish (it needs a lid) add the sliced vegetables and chicken stock. 
 
Pop it in the oven. You may want to put a post it note on the oven warning fellow housepeople not to touch the oven, as it may look like it has been left on inadvertently.  Go make dinner. You know, the one you will actually eat tonight.


Cook the crackling (part one)

8.30am Saturday morning. Put the pork skin into the oven on a wire rack. Go about your morning.

1.30pm. Take your pork out of the oven and leave to cool in the liquid. 

Take out the pork skin, which has been cooking for 5 hours, and disappointingly doesn't look like much. Feel a bit sorry for it, but don't say anything in case you hurt its feelings. Put the oven temp up to 240 degrees.


Cook the crackling (part two)

1.45pm Put the pork skin back in the oven for 15 minutes and be amazed at how much it puffs up and looks amazing. (Clearly a late bloomer).


Cool pork belly, strain off veg

4.30pm.  Take the pork out of the cooled liquid and set aside. It looked a bit... wet. And sad.

Strain the liquid.
Set some aside.
 

Prep sauce

Reduce the remainder by 2/3s. Trick I figured out – check the depth using a chopstick before you start, then you know when you’ve reduced it enough.

Warm pork belly to serve

20 minutes before you want to eat, heat the reserved stock liquid in a pan and pop in your pork.

2 minutes before carving. Dry it off on some paper, putting any leftover liquid in with the reduced liquid from before. Then quickly brown the top in a frypan in a little oil. (I just cleaned out the pan I had used to heat it up in).

Carve it into thick slices and serve it with the pommes puree and buttered lettuce. Bask in the adulation.


Things I learned:

  • Not everything good needs be painful.
  • Spiced brine definitely added some nice flavour there.


Guest verdicts:


  • “This is the best pork I’ve ever had.”
  • “Gee, that pork is good, isn’t it.” (From my laconic father in law. Gold, I tell you, gold.)
  • (The pork crackle was happily devoured by the two guests who like it with much pleasure, who felt that the rest of us not eating it was only a good thing).

Verdict:


  • The pork was very, very tender, with excellent flavour and no fattiness (like I’ve occasionally experienced in some restaurants). It wasn’t a “sticky” style pork belly, just very tender and great pork flavour. Sauce was nice, again just adding flavour without any fuss.
  • Pork crackle was the best I’ve ever done (I have a bad history with pork crackle). I was surprised at it not needing any salt – I had always thought it didn’t put enough salt on – just that combo of long time at low plus short time at very high and it was very light, airy and zero oiliness.
  • This was an excellent and relatively painless dish. You could prepare it a reasonable distance ahead (day before you wanted it) too. As a guest noted, it would be excellent for something like Christmas, where you wanted the oven during the day.
  • I am seriously considering including this as staple main course for those dinner parties where I wanted to do something complicated for dessert – the ultimate set and forget mains.

Next : Heston’s Coffee Brulee!

Tuesday, August 12, 2014

The Prep Ahead Dinner Party: Sides: Braised Lettuce and Pommes Puree

Getting on with the dinner party. I called this one Prep Ahead, because unlike pretty much every other Heston dinner, I didn't spend the entire day cooking up a frenzy. 

Seriously. I even took my daughter to her sport game in the morning. It certainly was a change of pace!

We had: (Heston dishes marked with a *)
  • Prawn cocktails*, with from scratch Mayonnaise* and Soy-marinated roe*
  • Braised pork belly with cracking*, pommes puree* (mk2), braised lettuce* and steamed carrots.
  • Coffee creme brulee*
I'll talk about the sides today, and then we can get into the... ahem... meat of the dinner in the next blog post.

Braised Lettuce 

Heston Blumenthal at Home

As discussion on the netball sidelines that morning indicated, not everyone has heard of buttered lettuce. It's a French dish, but I've had a few times in nice restaurants, including at Dinner by Heston Blumenthal in London. They added peas.

I think it's delicious. I consider it like the best kind of buttered cabbage, but without weird cabbage smell and a much more delicate flavour. Since trying it in London, I've been keen to try Heston's recipe from Heston Blumenthal at Home.

Process:

  1. Prepare your lettuce
  2. Blanch your lettuce
  3. Make some brown butter
  4. Make the buttery emulsion
  5. Heat the lettuce in the emulsion when ready to serve.
Pretty straightforward huh? Even better, you can do steps one and two ahead of time (before your guests arrive) and then just need to heat it up to serve.

Prepare the lettuce:

The recipe calls for Romanie lettuces, which I'd never heard of. Thankfully, so google-fu tells me that they are what we call cos lettuce - which is terribly easy to get. I got two small but bushy numbers. These get quartered.
 And washed and drained.
Put aside an iced water basin put to one side to stop them losing their colour.

Blanch them

In slightly salty water.
 Then into the iced water to keep their color.
 You can then trim the stems off and put the aside to heat up later.

Make the brown butter

We've done this before... old hat now, right?

Melt some unsalted butter.
 Whisk it...
 Until the butter solids turn brown and it smells kind of like toasted nuts.
 Then filter it through a coffee filter to get out the dark solids, leaving nice clear butter.

 Make the emulsion

I was kind of... sceptical about this. you are basically putting some of the butter into some water and blitzing it with a stab/hand blender until it emulsifies (becomes a single liquid, not two separate ones).

Then, you keep adding butter... until.. ta da! frothy buttery-flavoured water! That was surprisingly easy. Also, made ahead of time, and then just re-blitzed just in case before serving.

Warm up to serve

Okay, so I was kind of busy, but you just heat up the butter emulsion in a fry pan, and then warm through the lettuces. This take about 1 minute, or the amount of time it takes you to serve up the pork. (Actual cooking times may vary.) 
I recommend serving into a covered dish as this keeps it from going cold and you can keep it on the table, letting people serve themselves.

Pommes Puree (Mark 2)

I blogged about this dish once before, when doing the mammoth Fish Pie with Sand and Sea Foam Topping. These were better the second time around, learning from past mistakes.

Unfortunately, this time I forgot to take pictures when doing the spuds, so you'll have to sue your imagination, or the pictures from last time. 

Peel and dice your spuds. Cook them at 72 degrees for half an hour. Then rinse them, like so.
 
Then boil them in a fresh pan of salted water until they are falling apart. (Very, very soft but not disintegrated.) Carefully drain the falling apart potatoes, the put them back in the hot pan to dry out.

Side-note from last time: I had previously misread the recipe, thinking you stopped here if you wanted them later. This is incorrect. On a more careful reading, I realised that you do everything up to the adding of the milk.

So next, you put the soft, but drier, potatoes through a ricer (one of those potato masher/press things) onto a large hunk of butter, and mix it through.

You are them supposed to put it through a sieve to make it extra creamy. I am lazy and did not do this.

Now if you want you can can put it aside to use later.  

When ready to serve, you mix through the warm milk (which heats the whole thing up again, and makes it ready to serve!)

Lessons learned & verdict: 

Pommes puree

  • I'm glad I figured out what went wrong with the lumpy pommes puree last time. This time they worked very well, and reheated easily with the hot milk. They would be even better if you bothered to put them through a sieve, like you were supposed to. I'll do that next time.

Buttered lettuce

  • The buttered lettuce was very easy, could be done well before it was needed and a delicious alternative green veg. (Not every one like peas or broccoli). It went very well with the braised pork belly too.
  • The one I had at Dinner was even more buttery. I'm undecided if this was because they finish theirs with more butter, or if they had a more buttery ratio to the water used. I'd consider upping the butter to water ratio next time.
  • I would  absolutely make this again.

Guest opinions:

Guest enjoyed the lettuce and the mash, with what I took to be pleasant surprise at the flavour and texture of the buttered lettuce. To be fair.. opinions on this were pretty much swamped by the satisfaction of the pork belly.


Next time: Onto the meat! Braised pork belly with crackling

Monday, March 17, 2014

Pea and Pancetta Spaghetti

Thankfully due to the nice soul over at In Search of Heston, you can find lots of Heston dishes online, helpfully indexed (even if some are behind a pay wall - boohiss.)

This is where I found another one of Heston's Waitrose dishes - Pea and Pancetta Spaghetti. And since it's online I can link to the recipe. Linketty link. I am going to have to go visit a Waitrose in London, just so I can see all these Heston linked meals...

I found this recipe interesting because it is very similar for my go-to Spaghetti Carbonara recipe from Jill Dupliex's Old Food.(Which is one of my three desert island cookbooks).

So anyway, it's an easy, midweek kind of dish. The kind of midweek dish that you cook when you're tired, potentially making blurry photos. Sorry about that.

Pea and Pancetta Spaghetti

Steps

  1. Cook your pasta
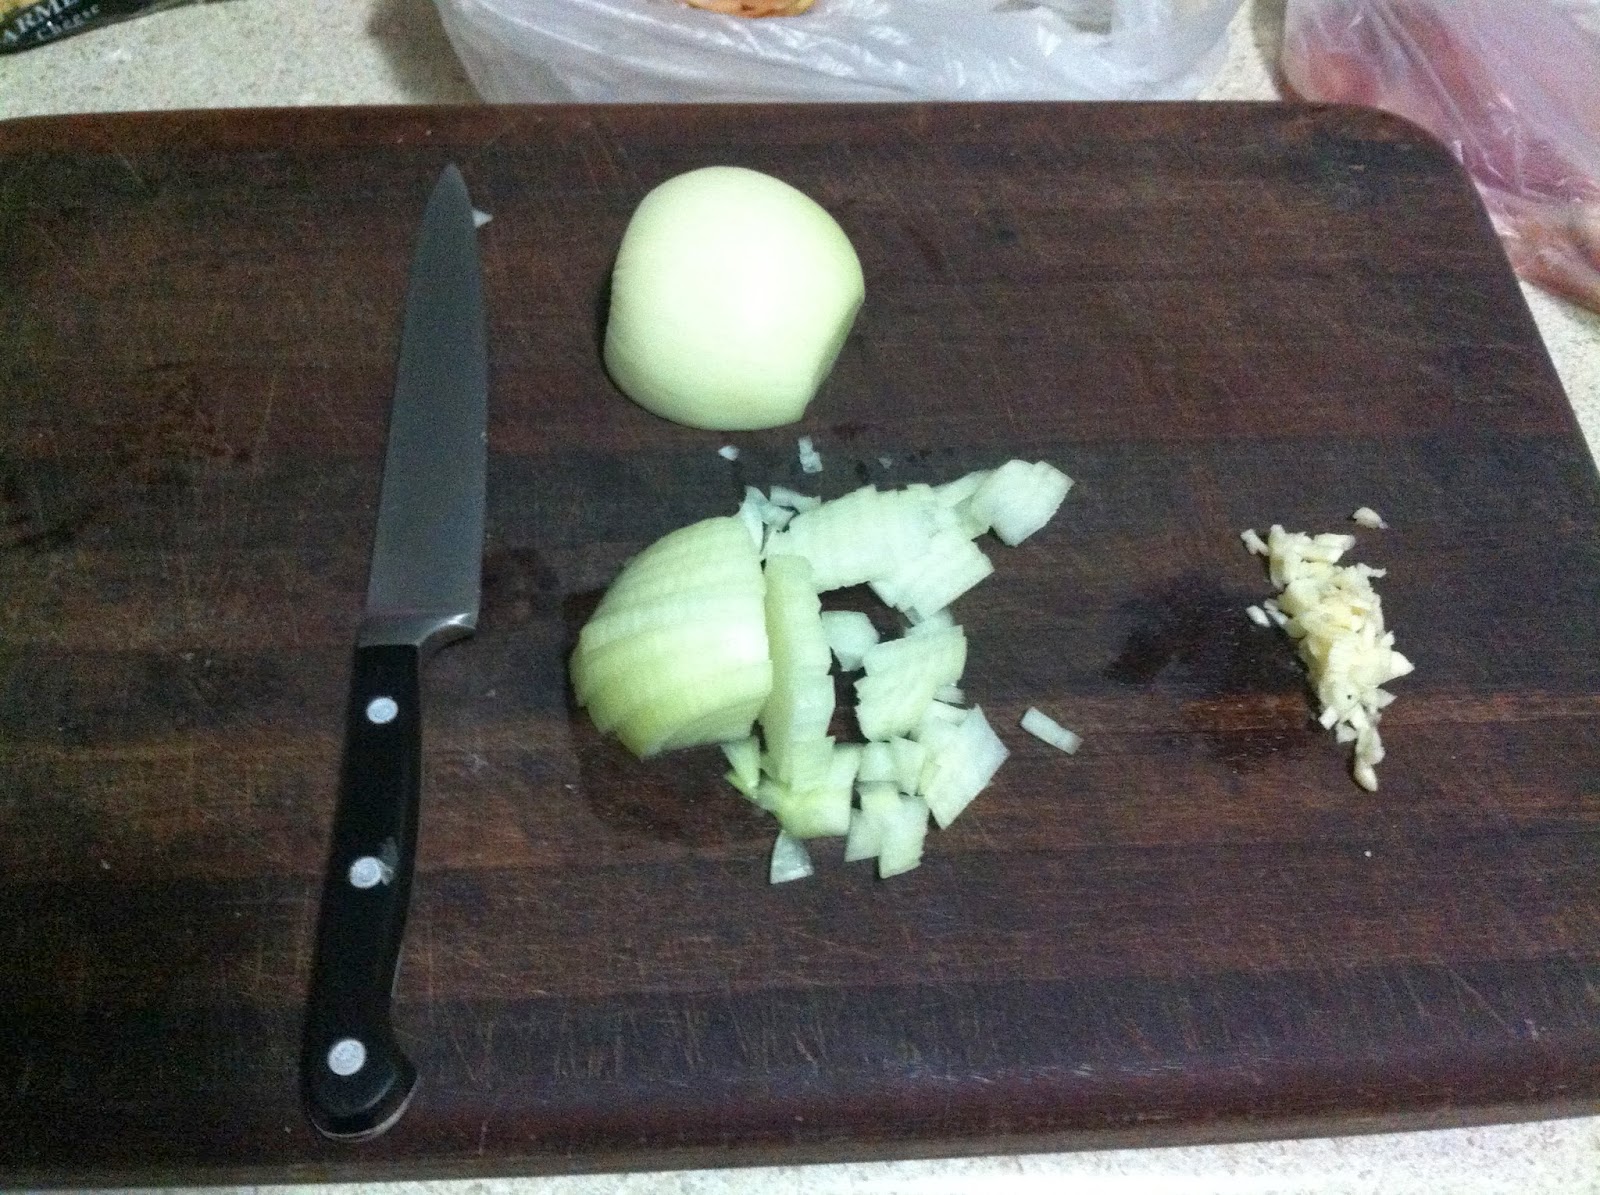
  2. Cook your onion and garlic
  3. Whisk together egg yolks, parmesan etc
  4. add the peas to the onions
  5. Mix onions/peas and egg yolk mix to hot pasta
  6. Stir through and serve!
It's like the laziest Heston ever. I feel like I've been saying that a lot. I obviously need to get on to the harder dishes again. Let's watch it happen.

Gather yon ingredients.

Prepare yon ingredients.


Cook the onion etc.

Cook the olive oil, onion, garlic. Plus chilli if your family eats chili. Sadly, mine doesn't.

Add and cook the pancetta. Smells tasty. Salty italian bacon stuff.
 

 Get your sauce sorted.

 So this is parmesan, egg yolks, salt and pepper. Sounds like my spaghetti carbonara.
 But instead of cream, you add a ladel of the cooking water from the pasta. And whisk it up.

Add your peas to defrost in the pancetta and onion mix.

Drain your spaghetti

And back into the still hot saucepan.

 Then add in the meat and veg. Mix.


And stir through the egg yolk mixture.

You might be worried about the raw egg. Fear not, the heat from the pasta very quickly cooks the egg into a thick sauce. (I was totally chill, having seen this trick before on my carbonara).

Serve and garnish with more parmesan.

Eat with gusto.

Guest opinions:

  • The family liked it. Daughter is not difficult to please on this front. It has pasta and a bacon variant so always likely to be a winner from her. Husband liked it but not hugely whelmed. I think he preferred my usual Carbonara, which is a favourite of his. (Which is pretty much this with bacon in place of pancetta, no peas and a smaller amount of cream in place of the water).
  • My thoughts was it was a good go-to easy recipe probably mildly healthier than the usual. I would probably make it again, but might down grade the amount of pancetta, which I found a little salty and overpowering in this quantity. Which may depend on the pancetta you use of course.

Verdict

I'd probably make this again. It would be a tasty and easy little entree (or 'il primo'... I've been getting ready for my trip).

Tasty and very low effort. I think its worth getting the better ingredients for this one if possible - one of those Italian things of 'simple done well'.